I remember staring at my screen late on a Friday when an urgent concert update landed in my inbox. The promoter had a finished flyer stating that doors open at 8 PM, but the touring band had been delayed and pushed their schedule to 9 PM. The event was only days away, the original graphic designer was completely unreachable, and no master project files existed.
Whenever an unexpected schedule change happens, your immediate step is to check whether you are working with live text or pixels locked into a flat image. If the design is still an editable document, changing the hour takes only a few keystrokes. When you are handed a flattened raster image, you cannot edit the text directly, but you also do not have to rebuild the entire flyer from a blank canvas.
Flyer Text Editor
Modify schedule titles and delete unwanted words on finished promo flyers.
Check for Source Files Before Touching Pixels
If you still have the original design file in Figma, Photoshop, or Illustrator, you should always return to that master file to modify the text box. Working directly inside the native source preserves the original vector typography, font weights, and layer hierarchy without any quality loss. This remains the cleanest and most accurate way to update any promotional layout whenever the source assets are accessible.
A common pitfall occurs when organizers try to bypass missing design files by uploading a flattened PNG, JPG, or WebP to Canva. Many expect the platform to automatically convert baked raster letters into editable text boxes. In reality, uploading a flattened flyer to Canva simply places a solid bitmap on the page, leaving the original lettering trapped within the background pixels.
When the master files are truly gone, redesigning an entire promotional sheet from scratch is an exhausting waste of your time. You do not need to hunt down matching background textures, reconstruct borders, or recreate complex lighting gradients just to change a single number. Instead, using a dedicated Flyer Text Editor allows you to update that specific schedule line while keeping the rest of the artwork untouched.
Why Baked Pixels Resist Traditional Editing
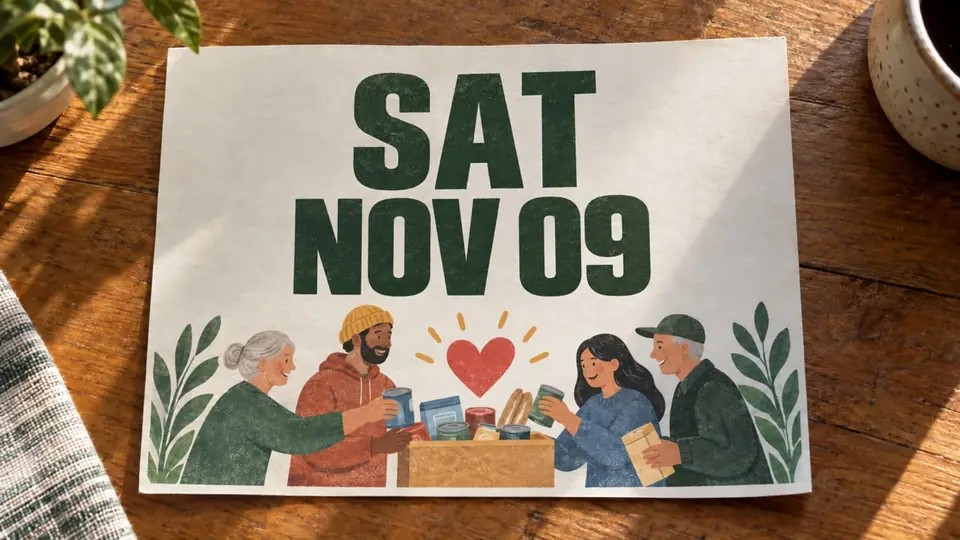
When an announcement is exported to an image file, the typography is flattened into a rigid grid of colored pixels. The letters fuse directly with background colors, lighting effects, and subtle paper grain. When you inspect the date or time closely, you see complex antialiasing edges that blend seamlessly into the surrounding graphic elements.
Attempting to patch these pixels manually in photo editing software is tedious and frustrating. You must clone out the existing characters, paint in missing background textures, and search font libraries to find a visual match. Even minor discrepancies in letter spacing, stroke thickness, or shadow angle can immediately look unnatural to your audience.
Detecting Lines and Inputting Your New Text
When you upload a flattened image, the system analyzes the visual structure to detect distinct text regions across the sheet. It identifies words and date rows based on visible contours rather than relying on embedded font metadata. This initial detection step maps out every text element across the canvas so you can select individual lines.
Once the layout is mapped, you can Edit Text on Flyer files by typing your changes directly into the detected rows. The system does not generate automatic translation suggestions or guess what you want to say. You remain in complete control by entering your exact replacement text into the field for that specific line.
To adjust that 8 PM door time to 9 PM, you simply select the time row and type the updated schedule into the input box. The system prepares a localized replacement that covers the old digits while blending into the surrounding background. If you need to remove an outdated line completely, leaving that text input blank clears the row from the final output.
Locking Lines to Preserve Poster Structure
A standard event flyer contains dozens of separate typographic details, including headliner names, venue locations, and ticket URLs. When your only goal is updating the performance time, allowing other parts of the flyer to change introduces unnecessary risk. Locking unchanged lines ensures that your edits remain strictly confined to the specific text row you need to update.
It is important to remember that this lock feature secures an individually recognized line of text rather than a traditional Photoshop layer. Because flattened images do not contain layer data, locking tells the engine to keep those exact coordinates and pixels completely stable. Locking your headline, date, and venue lines protects the original composition while the target schedule line is modified.
Matching Visible Styling Rather Than Font Files
Because an exported raster image contains no embedded font data, the system cannot load a native font file to create your replacement text. Instead, the engine evaluates the visible characteristics of the existing letters on the flyer. It examines stroke weight, baseline angle, optical spacing, and color transitions directly from the surrounding pixels.
This process is a best-effort visual match of visible styling rather than an authentic font file or a mathematically lossless vector path. The system synthesizes new glyphs to reflect the lighting, ink saturation, and edge characteristics of the original lettering. This allows the updated text to blend naturally into the artwork without standing out as an obvious digital patch.
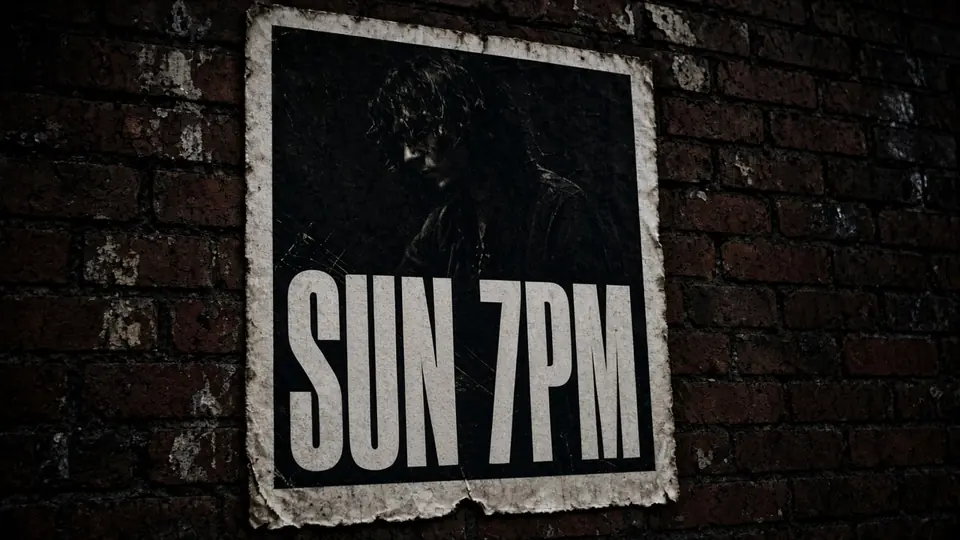
When handling textured or distressed posters, choosing to Edit Text in Image assets through visual synthesis preserves the overall atmosphere of the design. Pasting raw vector text onto a weathered background often looks harsh and disconnected. Matching the visible grain and soft edges of the original image maintains a cohesive visual aesthetic across the entire flyer.
Credits, Resolutions, and Platform Boundaries
Understanding how credits and resolutions work helps you manage your workflow smoothly. Text detection and layout inspection cost zero credits, allowing you to upload your flyer and verify that the target line is recognized before committing to a render. Once you sign in to your account, you receive trial credits to test the generation process on your own graphics.
Generating a finalized image deducts credits based on the output resolution you select. A 1K resolution image costs 10 credits, a 2K resolution image costs 20 credits, and a 4K resolution image costs 30 credits. We do not provide unlimited free image generations, nor do we offer a batch processing API for mass automated edits.
Practical Considerations for Clean Text Swaps
When you swap 8 PM for 9 PM, the visual footprint remains nearly identical, which makes the substitution straightforward. Problems arise when you attempt to insert a phrase with a vastly different character count into a tight spatial boundary. Forcing an extensive sentence into a space meant for a brief time code can make the replacement look cramped and unbalanced.
I always recommend matching the casing, punctuation, and character length of the original text as closely as possible. If the original designer used uppercase letters or specific abbreviation styles, following that pattern produces the most cohesive result. Taking a moment to align with the original designer's conventions ensures that your revision looks intentional and seamless.
Historical Realities in Commercial Printing and Broadsides
The dilemma of correcting event announcements has challenged publishers since the earliest days of printed broadsides. In historical letterpress shops, updating a broadsheet schedule required unlocking the heavy chase, resetting metal sorts, and proofing the entire forme again. If an error was discovered after ink hit the paper, correcting the mistake required reprinting the entire batch at significant expense.
Modern commercial printing introduced high-speed presses and digital prepress workflows, yet the challenge of finalized media remains. Once artwork is flattened for plate production or exported as a bitmap, text ceases to exist as independent editable code. Effective graphic communication relies on preserving the visual hierarchy of the overall layout while cleanly updating time-sensitive operational details.
The Bottom Line
If you still have access to the original source file in your design software, open it and edit the live text box directly. Updating the native file preserves typography, vector quality, and layer structure without compromise. That should always be your first choice whenever the master archives are available.
When you only have a flattened raster image, direct line replacement updates your schedule without requiring you to rebuild the design. You lock the surrounding lines, type the new time yourself, and generate a replacement that respects the visible style of the original artwork. This targeted approach keeps your promotion accurate while saving you hours of frustrating manual rework.
Sources
- https://zhuanlan.zhihu.com/p/2065449081007346078
- https://www.zhihu.com/question/29496489
- https://www.zhihu.com/question/657445134
- https://en.wikipedia.org/wiki/Broadsheet
- https://en.wikipedia.org/wiki/Commercial_printing
- https://en.wikipedia.org/wiki/Graphic_communication