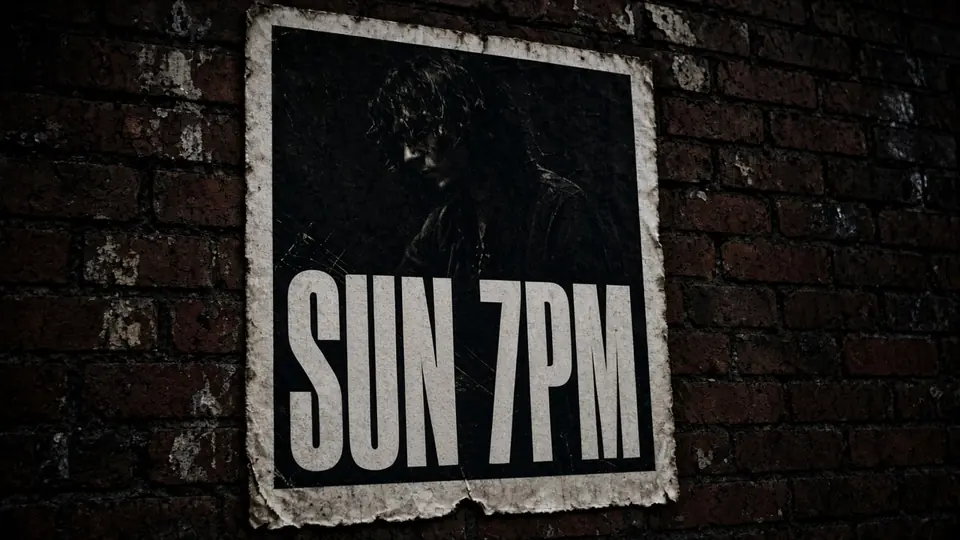
I was standing in front of my refrigerator yesterday morning, staring at a dinner invitation held in place by a small magnet. The card featured a watercolor border with a notice across the bottom reading RSVP FRI. The party had been moved to Sunday evening, but the host who created the artwork had only sent over a flattened export before leaving town.
Without reopening the Canva file, I had no access to the editable canvas or the shared workspace link. All I possessed was that single raster graphic sitting in my downloads folder. I needed the card to say RSVP SUN before printing copies, but rebuilding the entire layout was out of the question.
When you face an exported graphic with an error, you have three basic options. First, you can track down the owner, reopen the design file, and double-click the original text box to edit the vector characters. Second, you can draw an opaque colored rectangle over the mistake and type new words across the patch.
The third path modifies the underlying pixels directly so new words replace old ones without altering the surrounding art. You can use the Canva Image Text Editor to swap burned-in typography directly on your exported asset without rebuilding anything from scratch. That approach preserves the visual atmosphere while letting you update the exact phrasing that needs correction.
Canva Text Editor
Edit flattened Canva exports directly using our free online Canva image text editor with font matching.
The Difference Between Live Vectors and Flattened Pixels
To understand why editing an exported asset causes trouble, look at how layout software handles typography. When you build an invitation or banner inside an active project, every headline exists as a live text box. You can click that box anytime to change letters, adjust spacing, or switch font styles.
Once you export that design as a PNG or JPG file, the software flattens every element into fixed pixels. The editable letter shapes dissolve into coordinates alongside background shadows, paper grain, and illustrations. The resulting image no longer contains digital fonts; it is simply a continuous sheet of raster pixels.
When you upload that flattened export back into an empty canvas, the design platform treats it as an uneditable background photograph. Adding new words with the standard text tool simply places another layer on top of the old lettering, leaving the original text visible underneath. Canva offers features like Grab Text or Magic Studio, but their availability depends on your subscription tier and region, and they might not be accessible when you open your project.
The Visual Problem with Opaque Color Patches
Faced with fixed pixels, many people attempt to hide errors by drawing solid shapes over incorrect words. You select a nearby background color with an eyedropper tool, cover the outdated line with a box, and place fresh typography over the shape. While this quick workaround might look passable on a plain backdrop, it completely fails on textured or shaded artwork.
Most polished designs feature subtle background gradients, paper textures, lighting vignettes, or watercolor washes. Dropping a flat monochrome rectangle onto those organic elements creates an obvious visual seam that immediately draws the eye to the repair. Anyone inspecting the finished piece can tell that an error was covered up with an artificial digital bandage.
This issue is especially noticeable on promotional graphics and retail announcements. Consider an advertisement featuring a textured badge that displays 20% OFF against a radial gradient backdrop. If you need to update that promotional sticker to read 40% OFF, painting an opaque patch across the circle destroys the natural shading and ruins the presentation.
Instead of covering the mistake with an artificial overlay, you need to Edit Text in Image by repairing the texture beneath while reshaping the characters. That technique keeps the lighting gradient intact while replacing the actual letterforms. The final result looks like an authentic export rather than an amateur patchwork job.
How ReWords AI Handles Flattened Typography
ReWords AI addresses this problem by analyzing flattened pixel structures rather than searching for editable design layers. When you upload a PNG or JPG file, the system scans the canvas to detect baked-in text lines across the visual plane. You maintain complete control over the messaging because you type your own replacement words directly into the editor rather than relying on automatic translation suggestions.
The editor includes a Lock feature that secures an individually detected line against unexpected changes during rendering. When you lock a line, the system isolates that specific typographic zone and prevents modifications to surrounding artwork. This selective control allows you to update one line while preserving the rest of the graphic exactly as it was created.
The rendering process focuses on achieving a best-effort visual style match rather than loading local font files from your system. It evaluates optical weight, stroke curves, baseline alignment, letter spacing, and surface lighting directly from surrounding pixels. While this is not an official font installer or a lossless vector reproduction, it creates convincing visual continuity.
Credit Rules and Generation Resolutions
Understanding the credit structure ensures you can manage design updates predictably and transparently. Initial text detection on uploaded images does not consume credits, allowing you to verify recognized lines before committing to an update. Once you sign in to your account, you receive trial credits to test the generation workflow on your own graphics.
When you choose to generate a final revised image, the credit cost corresponds directly to your selected resolution. Generating a 1K resolution image costs 10 credits, producing a 2K resolution image requires 20 credits, and outputting a 4K resolution image consumes 30 credits. This tiered model lets you match credit usage to project needs, whether for social previews or high-resolution print files.
It is equally helpful to understand the practical operational limits of the platform. The service does not provide unlimited free exports, nor does it offer a batch processing API for automated bulk workflows. Each visual edit is handled individually inside the interface so you can review line detections, verify custom text inputs, and confirm visual quality.
Preparing Your Graphics for Clean Text Replacement
To achieve the cleanest possible replacement, start with the highest quality image export you can find. If you received a compressed preview file over a messaging app, look through your email records for the original full-size PNG attachment instead. Heavy compression artifacts blur the edges of letterforms, making it harder for the recognition system to replicate subtle stroke details.
High resolution is especially critical on promotional cards where contrast and gradients meet closely. For instance, if an e-commerce banner features a prominent seasonal tag showing 20% OFF, clean source pixels allow the system to separate characters from the background cleanly. That clarity makes replacing the tag with 40% OFF look natural, maintaining the original drop shadows and highlights.
Before you decide to Change Text in Image, take a moment to review all the copy on the card to identify every detail that needs an update. You can lock all the lines you want to keep intact, leaving only the target phrases open for editing. This methodical preparation ensures that your typography stays balanced and properly aligned across the entire layout.
Working with Lost Files and Missing Collaborators
Design workflows frequently break down because project files become scattered across personal accounts and shared drives. A colleague might build an event invitation, export a quick graphic, and leave the organization before transferring ownership of the template. When a minor detail changes months later, tracking down the original editable link becomes an exercise in frustration.
Reconstructing a complex graphic from scratch inside Photoshop, Figma, or Canva simply to adjust a single phrase wastes valuable time. You have to hunt down matching stock photography, recreate background textures, and guess at original margin spacing. Direct pixel editing bridges this gap by letting you make targeted revisions without rebuilding the entire document from scratch.
My refrigerator invitation dilemma ended as soon as I stopped trying to hunt down the missing project link. I typed the new date into the line editor, locked the rest of the layout, and generated a clean file that looked just like the original card. The revised print went back on the fridge door, showing the correct Sunday RSVP date without a single visible seam.
The Bottom Line
Flattened image exports no longer contain live text boxes, which means standard layout tools cannot edit the frozen pixels beneath. Covering text mistakes with opaque rectangular patches damages subtle background gradients, paper grain, and lighting details. By entering your own replacement text, locking individual lines, and generating 1K, 2K, or 4K assets with ReWords AI, you can update stubborn raster graphics without hunting for lost design files.
Sources
- https://www.zhihu.com/question/638028057
- https://www.zhihu.com/question/420113099
- https://www.zhihu.com/question/601583275
- https://en.wikipedia.org/wiki/Invitation
- https://en.wikipedia.org/wiki/File_format
- https://en.wikipedia.org/wiki/Web_design