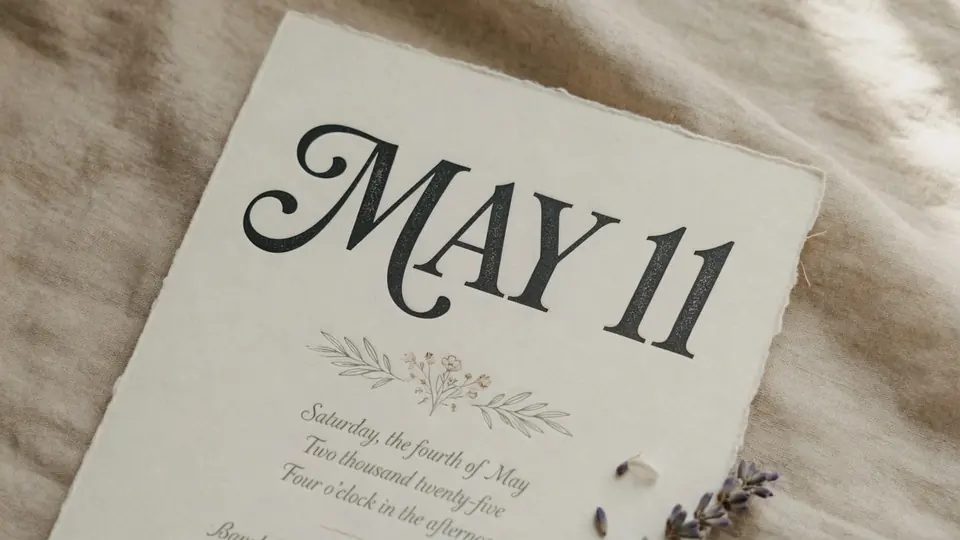
I was staring at the exported wedding card on my screen yesterday evening when the host called to say the schedule had shifted. The cocktail reception was no longer starting at 6 PM, but had been pushed back to 7 PM to accommodate evening traffic. The original layout file was buried inside an inactive account, leaving me with nothing except a flattened graphic.
When you hold a finished digital card with an incorrect schedule, your options feel narrow and immediate. You cannot simply double-click the phrase "6 PM" to retype it into "7 PM" once the graphic has been saved as a flat image. The text has already fused into the surrounding background wash, leaving behind pixels rather than distinct editable layers.
Before you attempt any complex editing workflow, there is an essential rule to keep in mind. If your invitation card is still sitting in Canva, Photoshop, or an accessible design project file, you should always go straight back there to adjust the native text box. Modifying raw pixels should only ever be your plan when those original design files are completely lost or inaccessible.
Raster graphics present unique challenges because letters sit atop paper textures, watercolor gradients, or metallic accents. When you try to alter a single number like changing 6 PM to 7 PM, the surrounding floral borders or paper grains must remain undisturbed. Choosing the best path forward depends on how much time you have and what tools you are comfortable handling.
Invitation Text Editor
Edit host names or blank out cancelled registry notes on finished cards.
Assessing the Best Methods for Correcting Flattened Cards
When you evaluate your alternatives for editing a flattened invitation graphic, you generally encounter three distinct strategies. Some people choose to rebuild the entire invitation from scratch using a fresh canvas. Others open a raster graphics editor to manually paint over the old schedule and stamp new characters on top.
A third modern method relies on dedicated pixel-level tools that read the existing letters and generate replacement characters directly over the original texture. Each method carries clear trade-offs in terms of effort, visual fidelity, and workflow friction. Understanding how these approaches compare will help you pick the best solution for your current situation.
Method 1: Rebuilding the Card from Scratch
Starting over from a blank canvas gives you absolute control over typography, spacing, and vector sharpness. You can select real font files, adjust letter kerning precisely, and keep every single line of text editable for future updates. This clean-slate route guarantees crisp output because you are building brand new native design elements.
The major drawback is the extensive manual effort required to locate matching decorative assets and fonts. If your original card featured an intricate script paired with custom floral illustrations, finding identical substitutes can take considerable effort. Unless you already possess the exact asset library, the rebuilt card may end up looking noticeably different from the original version.
This full rebuild method is best suited for situations where you have plenty of lead time before sending cards to print. If you only need to adjust 6 PM to 7 PM an hour before dispatching digital invitations, starting over introduces unnecessary friction. When time is tight, rebuilding everything often proves impractical.
Method 2: Manual Clone Stamping in Traditional Graphics Software
If you are comfortable using dedicated desktop photo editors, you can attempt manual pixel repair. This traditional method involves using a clone stamp or healing brush to paint over the phrase "6 PM" using adjacent background textures. Once the old time is concealed, you place a new text layer over the patched area and attempt to match the font.
The advantage of this hands-on technique is that it keeps the rest of your invitation card completely untouched. You preserve the original border illustrations, the couple's names, and the venue directions without altering the broader layout. Everything outside your small patch area remains exactly as the designer intended.
However, matching delicate invitation typography by hand is notoriously difficult. If the original schedule was set in an embossed foil or textured serif, a standard system font will immediately look out of place. Furthermore, if the background features complex paper grain or watercolor gradients, the cloned patch can easily appear blurred or smeared.
Method 3: Direct Pixel Replacement with ReWords AI
When you need to keep the existing design intact without spending hours searching for fonts, specialized pixel editing offers a streamlined alternative. You can upload your flattened graphic directly into an Invitation Text Editor to detect and modify the embedded lettering. Rather than forcing you to paint over backgrounds manually, the system analyzes the visual characteristics of the typography and blends the new wording into the underlying surface.
The primary strength of this workflow is how effortlessly it addresses isolated schedule updates. When I needed to turn 6 PM into 7 PM on my flattened invitation file, I simply typed the new time into the target text box. The platform generated the revised characters directly within the surrounding paper texture, maintaining the visual rhythm of the overall composition.
This direct modification path avoids the hassle of hunting down discontinued font families or redrawing intricate decorative borders. It allows you to produce a corrected card that looks natural and coherent to your guests. For quick digital updates or evening reminders, this targeted approach offers the most balanced combination of speed and visual consistency.
Navigating the Practical Workflow and Workspace Features
When you load a flat invitation card into the editor, the system automatically scans the graphic to identify every readable text string. This text detection phase does not consume any of your credits, so you can freely inspect which lines the system recognizes before committing to an edit. Once you sign in to your account, you receive trial credits to test the generation process on your own files.
The interface gives you precise control over which elements change and which elements remain untouched. For example, if you only want to adjust the time from 6 PM to 7 PM while protecting the rest of the text, you can use the Lock feature to anchor any recognized line so its contents remain frozen. If you need to remove an unwanted line of text entirely, you simply leave its input field blank.
Whenever you decide to execute a text change, you can select the output resolution that matches your intended distribution channel. Generating a revised image at 1K resolution costs 10 credits, choosing 2K resolution costs 20 credits, and selecting 4K resolution costs 30 credits. Having these tiered options lets you reserve higher resolution renders for cards that require larger display formats.
Working with a dedicated tool to Edit Text in Image saves you from destructive manual retouching. You can review the recognized lines, type your replacement words, and export the revised file in an orderly fashion. This structured process keeps your focus squarely on the exact details that need updating.
Understanding Capabilities and Boundaries
It is vital to maintain realistic expectations about how pixel-level text generation behaves on static imagery. This platform operates on flattened static image files such as PNG, JPG, and WebP, and it does not work with dynamic video or animated formats. It also does not offer an unlimited free subscription model or an automated batch processing API for high-volume enterprise pipelines.
The replacement process relies on a best-effort visual matching model rather than extracting or licensing actual font files. Because it synthesizes new pixels to match the surrounding illumination and letter forms, it does not produce lossless vector typography. For most digital invitations, this best-effort visual match blends smoothly into the design, but it will not mirror an editable vector file.
When you choose to Edit Text on Invitation graphics, your input clarity plays a major role in the visual outcome. Images with crisp contrast between the text and background yield cleaner results than dark, heavily compressed camera snapshots. Keeping these technical boundaries in mind ensures that you get the most dependable results out of every revision.
Comparing Your Options for Different Scenarios
To choose the best method for your card, consider both the urgency of the correction and the complexity of the original artwork. If your designer is still on retainer and the master design files are open on your desktop, updating the native text box remains the best standard practice. That direct native path preserves pristine vector quality without requiring any pixel approximation.
If the design assets are permanently gone and you face an intricate full-card redesign, rebuilding the entire layout makes sense only if you have several days of preparation time. However, when you simply need to change 6 PM to 7 PM on a flattened graphic before sending digital reminders to your guests, direct pixel editing is clearly the most practical route. It spares you the frustration of font hunting while keeping your event planning right on schedule.
Every event host eventually confronts an unexpected change in plans, whether caused by venue shifts or adjusted banquet timings. Having a dependable strategy to correct flattened invitation graphics prevents minor logistical shifts from turning into stressful design emergencies. You can resolve the mistake calmly and distribute the updated invitation with complete confidence.
The Bottom Line
Correcting flattened invitation cards does not require you to start completely from scratch or master complex photo retouching software. When your original project files are out of reach, direct pixel modification provides a sensible way to change details like shifting 6 PM to 7 PM without disturbing the surrounding art.
By taking advantage of selective locking, flexible resolution tiers, and zero-cost text detection, you can quickly update your cards and keep your guests properly informed. Evaluate your available design assets, choose the method that best matches your timeline, and update your invitations without unnecessary headaches.
Sources
https://en.wikipedia.org/wiki/Banquet https://en.wikipedia.org/wiki/Etiquette https://en.wikipedia.org/wiki/Reception_(wedding)