I sat at my desk examining a high-resolution studio photo of our signature glass jar resting under warm morning light. The printed label wrapped around the cylindrical container displayed the primary flavor word BERRY stamped across the central decorative band. Our kitchen crew had just sealed a fresh production run of mango fruit spread, but our graphic designer had already left for the weekend without leaving the original editable vector assets.
All I possessed in my downloads folder was a single flattened PNG export from our previous autumn catalog. The glass reflections looked authentic, the paper texture showed slight embossed highlights, and we needed to announce the new preserve on our storefront before Monday morning. Taking down the entire product listing or displaying an incorrect picture would disappoint regular buyers and hurt our store credibility.
When you face an outdated label picture, your first instinct should always be reviewing your design archives. If your original project file still exists inside Illustrator or Canva, you should return there to adjust the editable typography frames. Modifying raster pixels directly on an exported graphic is strictly a secondary approach for situations where you only possess a flattened picture.
You must also observe strict ethical boundaries and ownership standards before altering any product photography. Only modify visual assets and mockups that you own or have explicit commercial permission to edit for your brand. Furthermore, every digital preview must correspond faithfully to the physical package you prepare to seal, pack, and ship to an awaiting buyer. That principle means you should only replace BERRY with MANGO on the label image if the physical jar in your inventory actually contains mango preserves.
Preserve containers carry regulatory lines that require absolute care and total stability. Critical elements such as weight declarations, batch identifiers, durability dates, dietary claims, ingredient statements, and temperature instructions must remain completely untouched. You should never alter these mandatory elements on a marketing photograph because they communicate essential legal information to consumers.
Within a specialized Packaging Text Editor, you have dedicated controls to isolate these sensitive regulatory lines from your headline edits. The interface identifies detected text rows across your label surface and allows you to lock individual lines with a single click. When a line is locked, the rendering system preserves the original pixels and protects your mandatory declarations from unintended changes. If you ever need to eliminate a temporary seasonal slogan completely, leaving that text input field blank removes that specific line while healing the surrounding background.
Packaging Text Editor
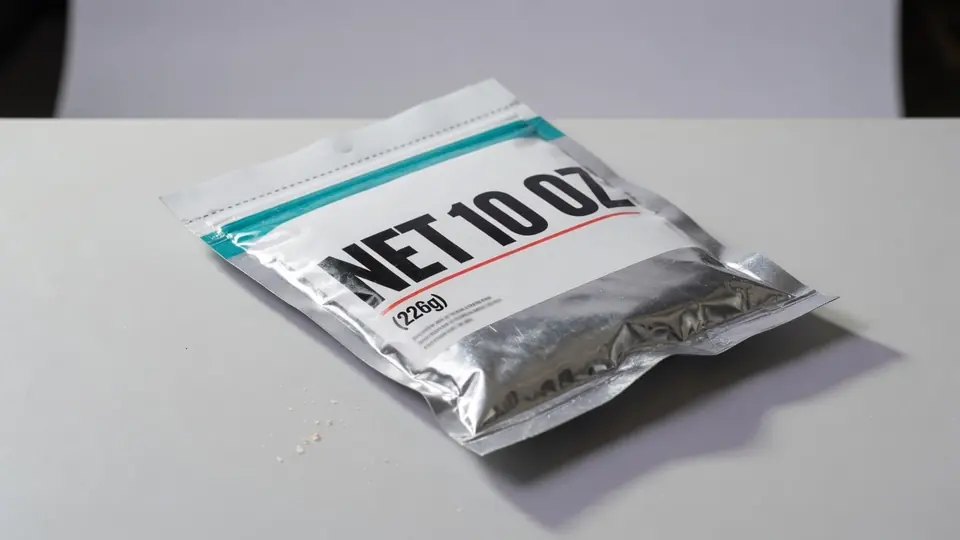
Update claims, volume labels, or piece counts on pouch and box mockups.
Comparing the Best Approaches for Updating Label Images
To decide which method yields the best results for your brand, you should evaluate the trade-offs between manual graphic retouching, studio photography, and automated image text replacement. Each technique addresses flattened visuals differently depending on your available time, technical skills, and equipment. Reviewing how each option performs against real-world label surfaces helps you choose the right path for your workshop.
Manual retouching in traditional raster software gives experienced editors complete control over every pixel brush and blend mode. An artist can clone out existing typography, sample ambient color shifts across the label curve, and manually typeset replacement wording on a separate layer. However, if you fail to reproduce the subtle paper grain, the flat color patch underneath the new letters immediately betrays the edit and looks artificial.
Setting up a fresh photoshoot in a dedicated studio represents another classic alternative for artisan brands. By arranging professional lighting equipment, a clean backdrop, and the real physical container, your camera captures authentic highlights and true glass refractions. The primary drawback lies in production delays, as you must wait for custom adhesive labels to arrive from the print shop before you can even position the bottle on set.
Using an intelligent tool to Edit Text in Image provides a balanced alternative when you only hold a raster photograph. Instead of rebuilding the visual scene from scratch, the system analyzes the existing typography and synthesizes replacement letters that follow the original geometry. It examines nearby lighting gradients, background texture, and letter tilt to integrate your typed words directly into the picture.
You should understand that neural pixel replacement operates on a best-effort matching principle rather than installing an actual font file. The software does not reconstruct a lossless vector outline, nor does it pull typography definitions from an internal directory. Instead, it recreates letterforms that mimic the visual style and lighting conditions already present on your packaging.
Because this process focuses on visual synthesis, it does not support unlimited free generations or high-volume background scripting. You type each replacement phrase by hand, verify the layout, and initiate the render when you are satisfied with the detected lines. Supported inputs include standard static formats such as PNG, JPG, and WebP, while animated media and vector files remain unsupported.
Working with the ReWords AI Pipeline
The editing process begins the moment you upload your static picture to the workspace. The initial detection stage scans your label and identifies individual lines across the container face without consuming any of your account credits. After you sign in, your profile receives trial credits so you can evaluate the rendering output on your own photographs.
When you decide to apply changes to an image, the system calculates credit consumption based on your chosen output resolution. Generating an image requires ten credits for a 1K render, twenty credits for a 2K render, and thirty credits for a high-clarity 4K render. This tiered structure lets you preview layouts on smaller drafts before committing resources to high-resolution assets.
To update our preserve photo, I uploaded the autumn photograph showing the original BERRY headline. The engine outlined the large title across the middle band, along with the smaller volume statement along the bottom rim. I immediately locked the bottom statement so its regulatory markings would remain completely untouched during the generation phase.
Next, I typed MANGO into the text field corresponding to the headline. Because the glass jar curves toward the sides, I watched closely to see how the software handled the optical distortion across the paper face. A dedicated tool to Edit Text on Packaging must respect surface lighting, ambient drop shadows, and cylindrical wrap to look convincing.
I chose the 2K resolution setting, which consumed twenty credits from my balance. The resulting image displayed the new word MANGO positioned neatly between the decorative borders, carrying the same weathered stamp texture as the previous lettering. The ambient highlight running down the glass shoulder blended seamlessly across the paper border without jagged artifacts.
Critical Visual Checks Before Publishing
Before you upload any modified packaging photo to your e-commerce storefront, you must conduct a thorough quality inspection. Zoom in to examine the transition zone where the new letter strokes meet the label background. Ensure that the paper texture continues smoothly behind the characters rather than blurring into a flat digital smudge.
Pay close attention to how light falls across the surface of your container. On curved surfaces like glass jars, metal tins, or plastic bottles, highlights usually brighten one side of the letterforms while shadows deepen the other. If the new characters appear uniformly bright under directional lighting, the image will feel artificial to observant customers.
Review the perspective and alignment of your typed wording against the physical contours of the package. Letters printed across a cylindrical label should bow slightly along the curvature of the cylinder rather than following a rigid flat baseline. Finally, confirm that your locked regulatory lines match the source photo down to the exact stroke, spacing, and punctuation marks.
The Bottom Line
Updating a label headline on a flattened photograph requires balancing visual authenticity with ethical presentation. When working source files are lost or unavailable, editing the raster pixels provides a practical path to keep your product catalog current. However, you should only update graphics when the physical product inside your container truly matches the new description.
Always lock your regulatory lines, inspect the rendered paper grain, and select the output resolution that matches your display needs. By approaching packaging adjustments with care and precision, you can showcase seasonal flavors like mango without organizing costly studio reshoots. Honest imagery builds lasting customer loyalty, and thoughtful digital tools help you maintain that standard with confidence.
Sources
https://en.wikipedia.org/wiki/Fruit_preserves https://en.wikipedia.org/wiki/Jar https://en.wikipedia.org/wiki/Flavor