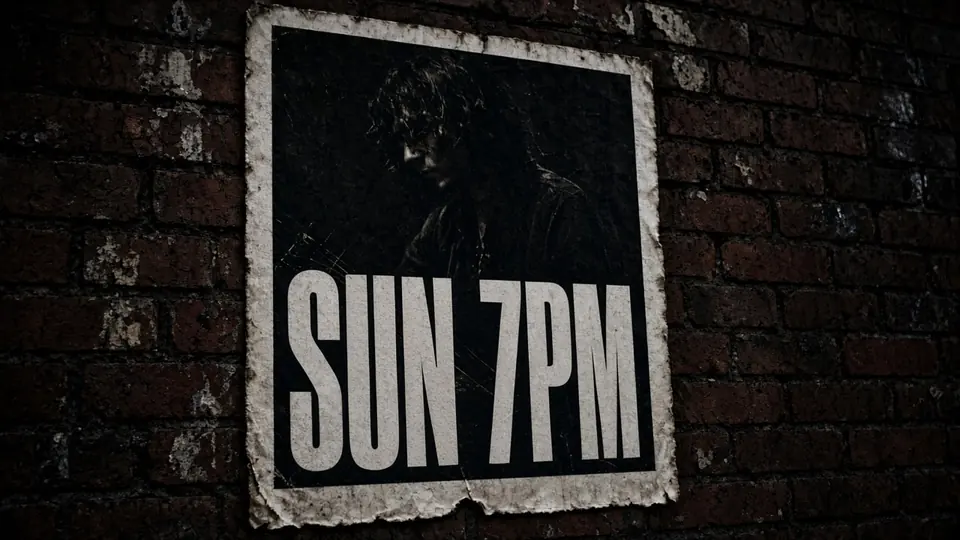
I was looking at a saved reaction meme yesterday with bold white capital letters across the top that read WAIT WHAT. The expressive face underneath matched the mood I wanted to share in a group thread, but the conversation called for OH NO instead. I wanted to update the phrasing cleanly so the picture delivered the right reaction without looking like a butchered screenshot.
The trouble was that those original words were not floating on an editable text layer. They were permanently baked into the underlying pixels, surrounded by thick black outlines and compression artifacts. If I rushed a clumsy patch over the top, the entire punchline would fall flat.
Meme Text Editor
Edit baked-in punchlines on finished images using our free online meme text editor with style matching.
Why Baked-In Typography Resists Simple Edits
When an image gets exported across social platforms, every letter burns directly into the background texture. The visual information that once existed behind those characters is discarded during rasterization. You are left with a flat grid of colors where letter borders and scene details share the exact same pixels.
This creates an immediate dilemma whenever you want to adapt an established format for a new joke. You might locate a visual template that captures the right mood, but the phrase stamped across the top belongs to an entirely different context. To make the graphic fit your dialogue, you must address the old lettering before introducing your own words.
Approach 1: Stacking a New Text Box Over the Old Letters
The quickest reflex for many people is opening a mobile markup tool to paste a new caption directly over the old one. You pick a solid background color, type OH NO in an opaque rectangular sticker, and drag it across the original WAIT WHAT. It feels convenient because the entire process takes place in whatever default viewer you already have open.
Covering text with a new layer, however, leaves the old text underneath. Because original meme captions often feature heavy strokes or drop shadows, those dark outlines routinely poke out from behind the edges of your new sticker. Even when the patch hides the core letterforms, the resulting block looks like a piece of electrical tape slapped across a photograph.
Using a dedicated Meme Text Editor should ideally blend your message into the scene rather than cover it up with awkward geometric boxes. When you drop an opaque rectangle over an expressive character, you slice right through the subtle lighting, shadows, and natural film grain of the scene. The final image tells the viewer that someone made a hasty repair rather than an intentional joke.
Approach 2: Rebuilding the Whole Graphic from Scratch
To escape the ugliness of taped-on text boxes, some creators choose to hunt down the raw, uncaptioned source image. You run reverse image queries across multiple tabs, searching for the clean cinematic still or screenshot before anyone added a single word. Once you locate an untouched background, you import it into a design canvas to build the typography from the ground up.
While this strategy guarantees a clean canvas, finding pristine source stills is often an exhausting chore. Many classic reaction visuals come from fleeting video moments, obscure livestreams, or compressed television broadcasts that never saw an official high-definition release. Even when you find a blank still, it often turns out to have a different crop, awkward color grading, or lower resolution than the version you originally saved.
After securing a blank asset, you still have to recreate the visual character of the original typography. You must search for the correct font family, calibrate the tracking, and dial in the black stroke thickness to replicate the classic style. Spending substantial creative energy just to change WAIT WHAT into OH NO turns a quick conversational response into a tedious design assignment.
Approach 3: Manual Clone Stamping and Brush Retouching
Those with access to desktop photo editing software often attempt to remove the original letters manually. You zoom in close, set up a clone stamp tool, and sample adjacent colors to paint over each individual character. Your goal is to paint away WAIT WHAT so that only the underlying face, wall, or landscape remains before you add OH NO.
This manual retouching demands genuine digital painting skill and disciplined patience. Complex surfaces like hair strands, textured fabrics, or subtle gradients easily turn into smudged, unnatural patches under a clone brush. When you eventually place your new phrase over that retouched zone, the blurry texture beneath the letters stands out immediately to any observant viewer.
The requirement for specialized desktop software also makes this workflow impractical for everyday browsing. You cannot easily perform delicate brush cloning on a touchscreen while chatting on your phone or working away from your main computer. If your goal is to Edit Text in Image formats smoothly, dedicating intensive manual labor to background reconstruction rarely matches the casual nature of online humor.
Approach 4: In-Browser Line Replacement with Best-Effort Matching
A more modern alternative handles text replacement directly inside your web browser. Instead of treating the graphic as an immovable flat file or demanding hours of manual cloning, the system recognizes individual rows of text as distinct elements. You simply upload your image, review the identified rows, and type OH NO into the text field where WAIT WHAT originally appeared.
The functional difference between this method and an overlay is fundamental. Covering text leaves the old letters buried underneath, while replacing them actually removes the old letters and draws the replacement letters back into the picture space. In passing, leaving a line empty removes that line entirely from the composition. You can also lock an identified line to preserve specific words while swapping out only the line you wish to modify.
This automated workflow operates under a transparent credit structure with no hidden commitments. Text detection does not consume credits, meaning you can inspect how the tool reads the image before you spend anything. New users receive free trial credits upon logging in to explore the interface without immediate payment. When you decide to generate your revised visual, the cost depends on your chosen output size: generating at 1K resolution costs 10 credits, 2K resolution costs 20 credits, and 4K resolution costs 30 credits.
It is important to maintain realistic expectations about what automated line replacement can and cannot do. The system delivers best-effort visual matching based on the detected letters; it does not identify exact font files or generate lossless vector graphics. It is engineered specifically for static image formats such as PNG, JPG, and WebP. The platform does not offer unlimited free exports, nor does it provide a batch API for bulk processing across large databases.
When you choose to Change Text in Image files using in-browser line replacement, you retain the organic background textures that give the visual its personality. The system fills the space previously occupied by WAIT WHAT with plausible background tones before rendering OH NO. This keeps the revised visual cohesive and ensures your punchline looks like a natural part of the original scene.
Comparing the Real-World Trade-Offs
Weighing these four approaches reveals how different tools serve different creative priorities. The overlay approach is undeniably quick, but it produces visibly degraded graphics that can undermine your comedic intent. Hunting for clean source files delivers pristine visual clarity, yet it consumes so much time that the conversational moment usually passes before you finish.
Manual desktop editing offers granular control, but the steep learning curve and software requirements make it unsuitable for quick daily edits. In contrast, in-browser line replacement strikes a practical balance between visual quality and workflow speed. You achieve a clean result where new letters sit comfortably inside the frame without needing advanced illustration skills.
Your choice ultimately depends on the context of your project. If you are preparing a high-resolution marketing asset that will appear on large physical displays, building a vector layout from an empty canvas remains the gold standard. But when you are adapting a popular visual gag for an immediate conversation, replacing text rows directly in the browser offers the most sensible path.
The Bottom Line
Editing baked-in text does not have to mean settling for clumsy solid stickers or spending hours hunting down obscure blank templates. Real text replacement removes the old letterforms and redraws your new words directly into the picture, preserving the natural mood of the artwork.
Whether you need to swap WAIT WHAT for OH NO or adapt a reaction frame for a private thread, pick the tool that respects your time and protects visual quality. Thoughtful editing lets you deliver fresh punchlines with the polish and impact they deserve.
Sources
https://en.wikipedia.org/wiki/Catchphrase https://en.wikipedia.org/wiki/Joke https://en.wikipedia.org/wiki/Humor